Today’s Article is going to tackle one of the more tedious projects with which homeowners face: Removing popcorn or stipple texture from a ceiling.
This is not a difficult process. It is, however, extremely messy, labor intensive, and tedious. It also requires good finishing skills for professional results. I am going to make this a step by step explanation.Gather all of your materials and supplies:
1. Gather your materials and supplies.
- spray bottle with water
- scrapers
- plastic and construction paper
- sand paper and poles
- trash bags
- dust masks
- eye protection
- paint brushes
- drywall compound
- finishing knives
- paint
2. Prepare the area.
This is going to be a dusty, messy process so proper preparation is imperative. Move all the furniture out of the room or into the center of the room. If the furniture stays in the room, cover it with plastic and tape the plastic. Cover all floors with plastic or construction paper. Also, cover A/C intakes or turn of the HVAC altogether. The drywall dust is so fine it will go into the ventilation and get spread throughout the building.
3. Start removing the texture.
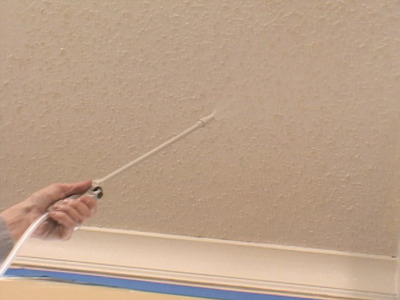
Both stipple and popcorn texture are water based products. The easiest way to remove them from your ceiling is by spraying them with warm water and letting the water seep into the texture. After a few minutes, the texture should be soft enough to be scraped off. How easily the texture comes off depends on many variable and can’t be accurately determined until you start scraping. Continue removing the texture as described about until it is all gone. You are done for the day. Let the ceiling dry and get some rest because your neck and shoulders are probably sore.
4. Refinish the ceiling.
This takes some skill. There is no doubt that the ceiling looks like it needs help. Get your drywall compound and finishing knives ready. I recommend buying a 5 gallon pail of joint compound or the bag mix so that you can make as much as you need. Now that you have your finishing tools ready start refinishing the ceiling. Remember that the less compound you use, the less sanding and dust you will have to deal with in step 5. After you have finished applying drywall compound on the ceiling, take lunch and give the compound time to dry. Dry time depends on temperature, humidity, and the type of compound you used. I recommend 45 minute compound.
5. Sanding and touch up.
Now comes the really messy part. Put on your dust mask and eye protection. Sand the entire ceiling until it is smooth. If there are areas that don’t look right, touch them up with more compound and re-sand it after it dries. Once you have the ceiling smooth, dust it with a damp rag or paint brush to get the loose dust off of it before step 6.
6. Prime and paint.
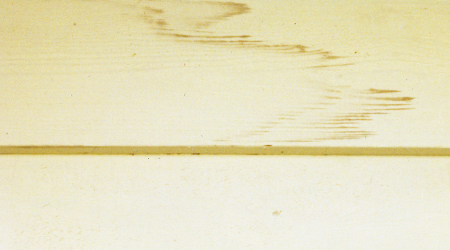
You’re almost done! I know that step 6 says, “Prime and paint”, but you may not have to prime. If you are using flat paint, which I recommend on ceilings, then you can paint directly on the finished ceiling. If there are water stains, then they do need to be primed using an alkyd or shellac primer/sealer. After the paint dries, do a walk through and address any areas that need to be touched up. If everything looks good, then proceed to the last step.
7. Clean up.
This should be a welcome step by now. Clean up all of the plastic and paper, put the furniture back and enjoy your nice smooth ceiling. Hooray!
If you just got through smoothing a textured ceiling you are probably thinking, “I am never going to do that again. Next time I am going to hire a professional.”
That’s when you call GreenWave Solutions. We are Metro Atlanta’s best painting company. We serve Atlanta, Alpharetta, Brookhaven, Buckhead, Chamblee, Cumming, Duluth, Dunwoody, Doraville, Grant Park, Inman Park, Milton, John’s Creek, Sandy Springs and more. Call us for the best interior painters in Alpharetta!
Simply put, GreenWave Solutions has the best painters in Atlanta.
By: Daniel Macris, President of GreenWave Solutions, the best house painters in Atlanta.
Connect with Daniel on Google+


